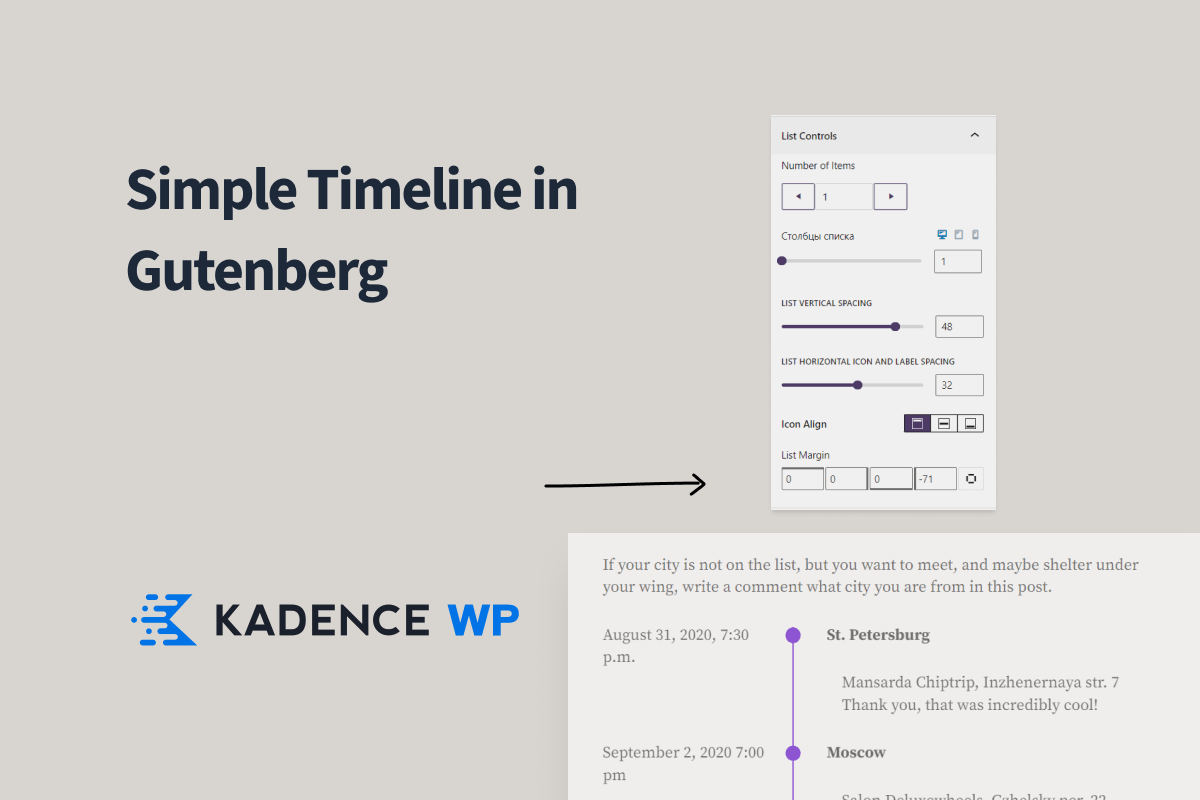
Create a timeline block on Kadence Blocks - Gutenberg/WordPress

Introduction
If you want to avoid using third-party plugins such as Timeline, That look what can be done on built-in blocks. I liked the result so much that I decided to leave a note about it.
One approach is to explore built-in features like Kadence Blocks and the features of the platform you use, like Page Builder or Gutenberg, instead of relying on external plugins. Not only does this give you more control over your site, but it also helps reduce dependencies and potential security risks.

Gutenberg is a revolutionary WordPress editor that offers a variety of blocks that allow you to create engaging and dynamic content on your site while keeping your pages optimized. One of the most effective block plugins for WordPress is Kadence Blocks. In this article, we will show you how to use Kadence Blocks to create a timeline section in WordPress.
Why use the timeline block?
The Timeline Block is a powerful tool for visually representing a sequence of events in chronological order. It helps contextualize important events, track progress, and add structure to complex information. Using the Timeline Block, you can tell the story of a company, project, or personal journey in a compelling and easy-to-digest way. This feature is especially useful for educational, historical, or marketing purposes, as it allows the viewer to digest information quickly and efficiently.
The timeline block includes
Here are some ideas for visual design of the timeline block:
- Classic Timeline: Traditional design with vertical lines connecting events in chronological order, using circles or squares with the date and a short description.
- Interactive Timeline: Engages users with clickable events that reveal additional information or media.
- Icon-Based Timeline: A visually appealing design that uses customizable icons to represent events.
- Color-code your timeline: Use different colors to represent categories or topics for quick identification.
- Story Timeline: A creative design that arranges events to tell a story.
Setting up Kadence Blocks
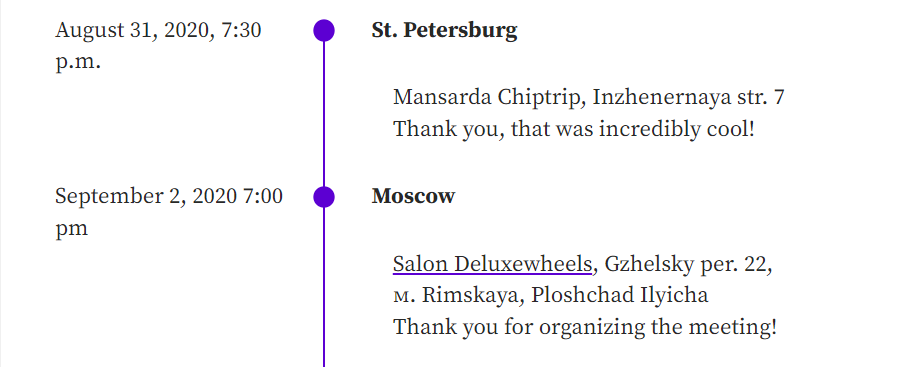
Before you begin, you'll need to make sure you've installed and activated the free plugin. Cadence Blocks. Once you have done this, you can start creating your timeline section. The picture below shows the solution, by the way.

Creating a Timeline
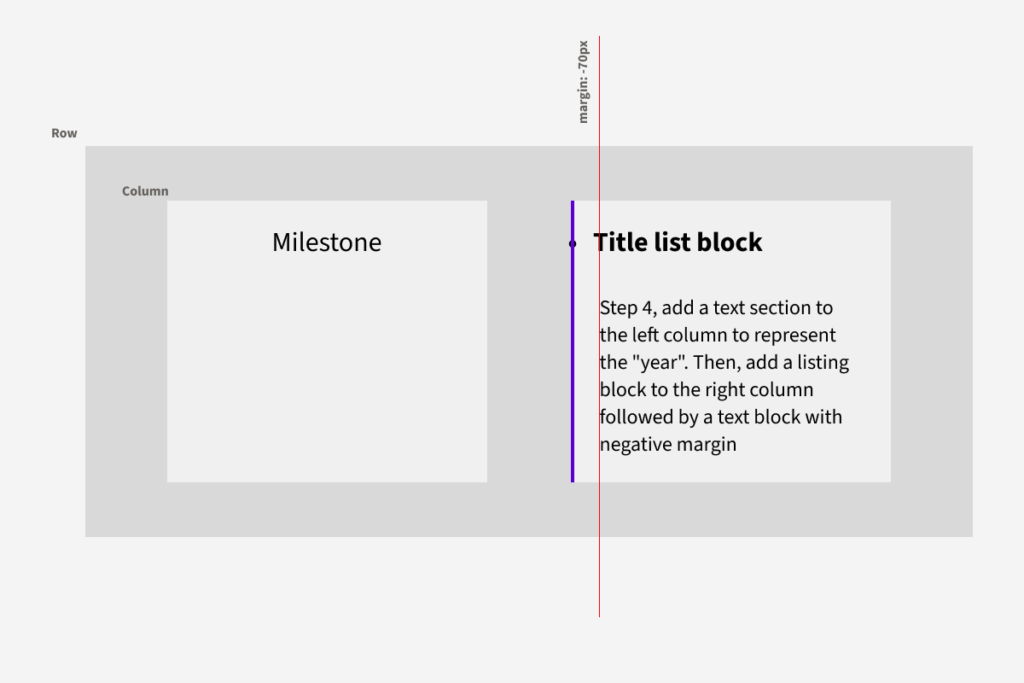
Let's create a row with two columns: date on the left and title with description on the right. Make sure the design is responsive.
- Step 1: Add a row with two columns.
- Step 2: Add a text block to the left column for presentation years. Then add a list block to the right column followed by a text block for the presentation. title and description events.
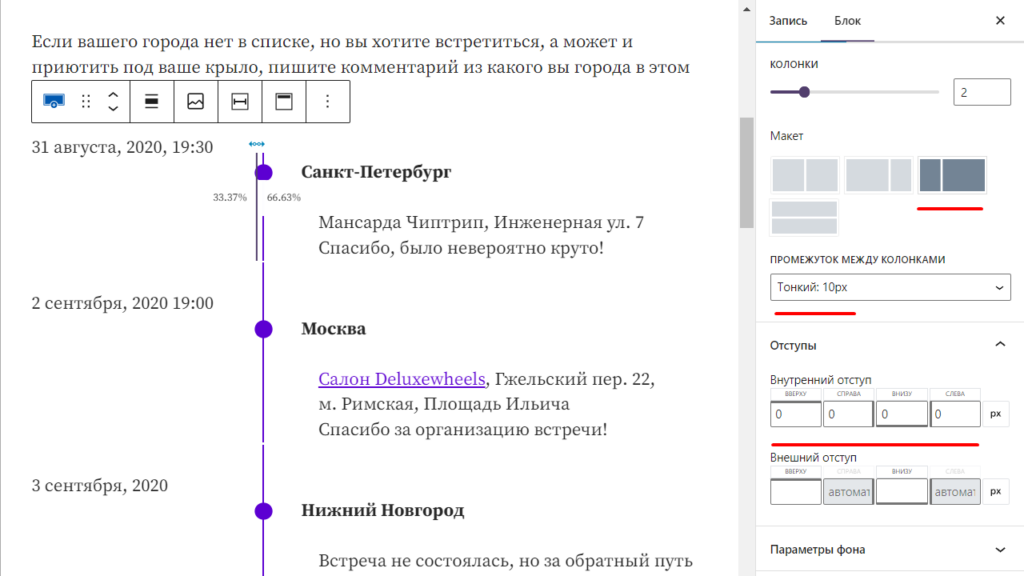
- Step 3: Set the row, right column and list block options:
ROW: Left column width: 33% Column gap: 10px Padding: 0 Right Column: Padding: 0 0 0 60 Border-left: 2px List Block: margin list: 0 0 0 -71
That's it! Duplicate the line and enjoy!
One of the great features is the ability to select all rows at once instead of selecting each one individually. This can save a lot of time and effort. Also, Kadence Blocks make it easy to customize properties like the spacing between columns. You can spend a little time and do better. Share your results in the comments.
Conclusion
Creating a timeline section on your website is an effective way to showcase your company history or any other important information in a creative and engaging way. With Kadence Blocks, you can create a timeline section quickly and easily, without the need for coding knowledge. Try it out and see how it can improve the design and functionality of your website.

